Hey Net-Zerofites! We had a fabulous gathering and Net-Zero-In-Progress Tour at 928 Cedar, Sunday afternoon. When we sent out the invitations a month ago, it was deemed the Pitney Pad Party, thinking we’d at least have the pad in place by November 1. We invited people to bring appropriate offerings for the event, like pad thai and I was going to show up in a plaid tie. But then, holy bijeezits, we got way beyond a pad to walls with a red roof on top. So this was no mere Pad Party but a real home tour extravaganza.
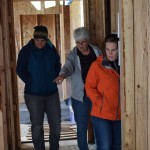
Anywho, more than 50 enthusiasts showed up from near and far. We shared hugs and welcomes to our Passive House In Progress.
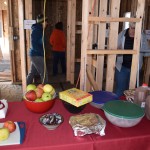
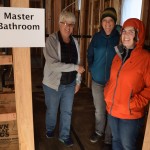
We set out the applesauce donuts, made with Sophia next door, her middle school friends, Erin and Amy and the apple cider and cheese. We had signs up in all the spaces so everyone could picture what will go where and not mistake the kitchen sink for the thrones! (It’s important to know the difference!)
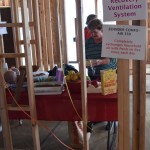
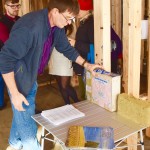
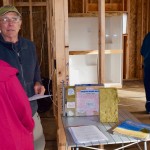
We set the Passive Wall model and information packets out on a table and the tours began.
And the questions started coming in a steady stream as we scratched our heads at those we couldn’t answer and consulted our specs, plans and models:
- So where’s the furnace? (No furnace needed, no heating system)
- What? (So well insulated we don’t need heating/cooling)
- How thick are at the walls? (13 inches)
- Will there be heat in the floors? (We don’t need a heating system)
- How do you mitigate mold and moisture? (Heat Recovery Ventilator)
- What’s that? (The ventilator completely replaces all indoor air with fresh outdoor air once every 3 hours.)
- Are there exhaust fans in the bathrooms? (No, not needed)
- Where’s the port-a-potty?
Someone said, “This is a really stupid question, but…” What we learn is there are no stupid questions, but some of these Passive House realities take awhile to grasp. As it turns out, the conversation is what’s most important. And catching up on our relationships and forming new ones while we try to help each other grasp a new way to live. Asking about Henry’s Blueskin integrates with queries about Ralph and Emily’s new baby and how Mother’s cancer treatment is progressing.
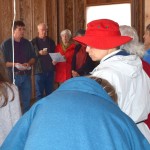
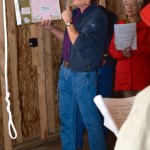
At 3 o’clock Debbie sounded one of her characteristic two-fingered whistle and we gathered around so I could preach awhile…I know, I’m retired, but it’s still an occupational hazard. We had assembled a booklet, a kind of tour guide for understanding Passive House. We walked through it briefly together and entertained more questions. The woman in red is my sister Alice, listening intently. I’m not sure of the origin of her dismayed expression. Perhaps it was the question about how many minutes of Pilates one would have to limit oneself to doing on a cold winter morning, so as not to overheat the airtight envelope! Just sayin’.
One of the interesting pieces of the conversation takes us bake to our on-going tutorial on what comprises a Passive House. Again. The 5 principles:
- Super insulation
- Airtight envelope
- High performance windows
- Heat Recovery Ventilator
- Proper orientation to the sun
To continue with our conversation about insulation and the airtight envelope I constructed a model Passive House Wall for show and tell at the Pad Party. Let me briefly describe it to you. The front side of the model pictures the insulating capacity and airtight seal of the 13 inch wall.
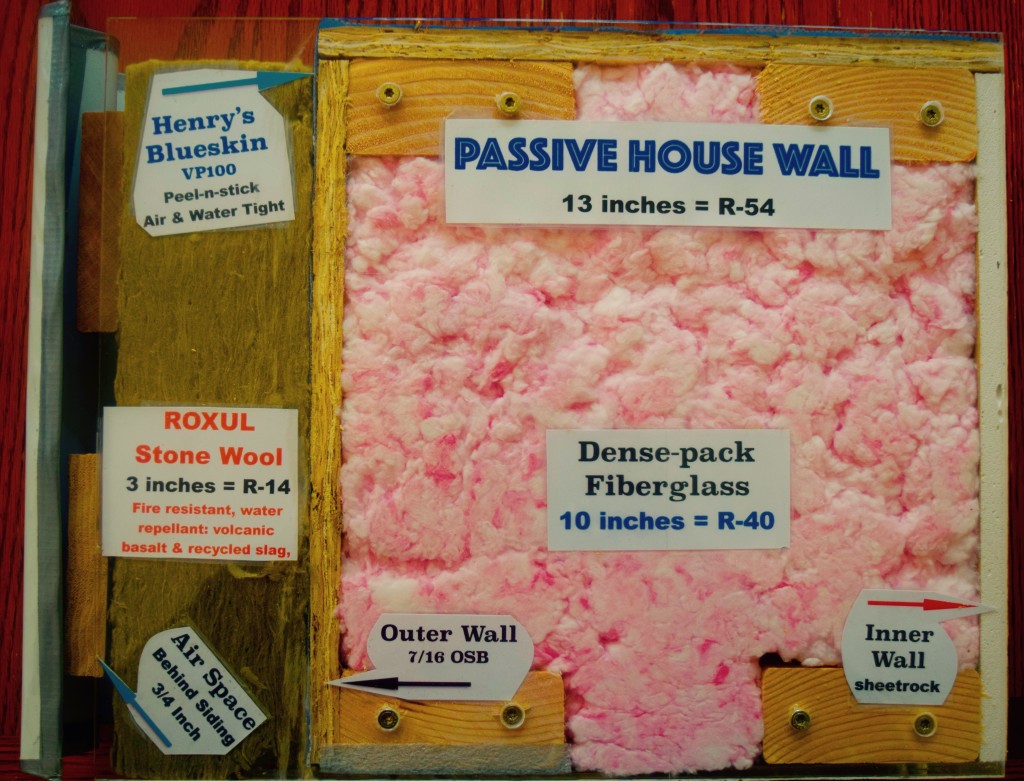
From the inner sheetrock wall of the house to the outer metal siding (right to left):
- Inner wall is sheetrock
- Followed by 10 in of dense packed fiberglass insulation (R-40)
- Then the OSB outer wall (Oriented Strand Board)
- Sealed with Henry’s Blueskin across ceiling and down outside OSB.
- Then 3 in. ROXUL, made of molten basalt & slag spun into fiber (R-14).
- Next: 3/4 inch airspace—-provided by 1×4 firing strips
- Finally the Corrugated Metal siding.
20. Backside of Model
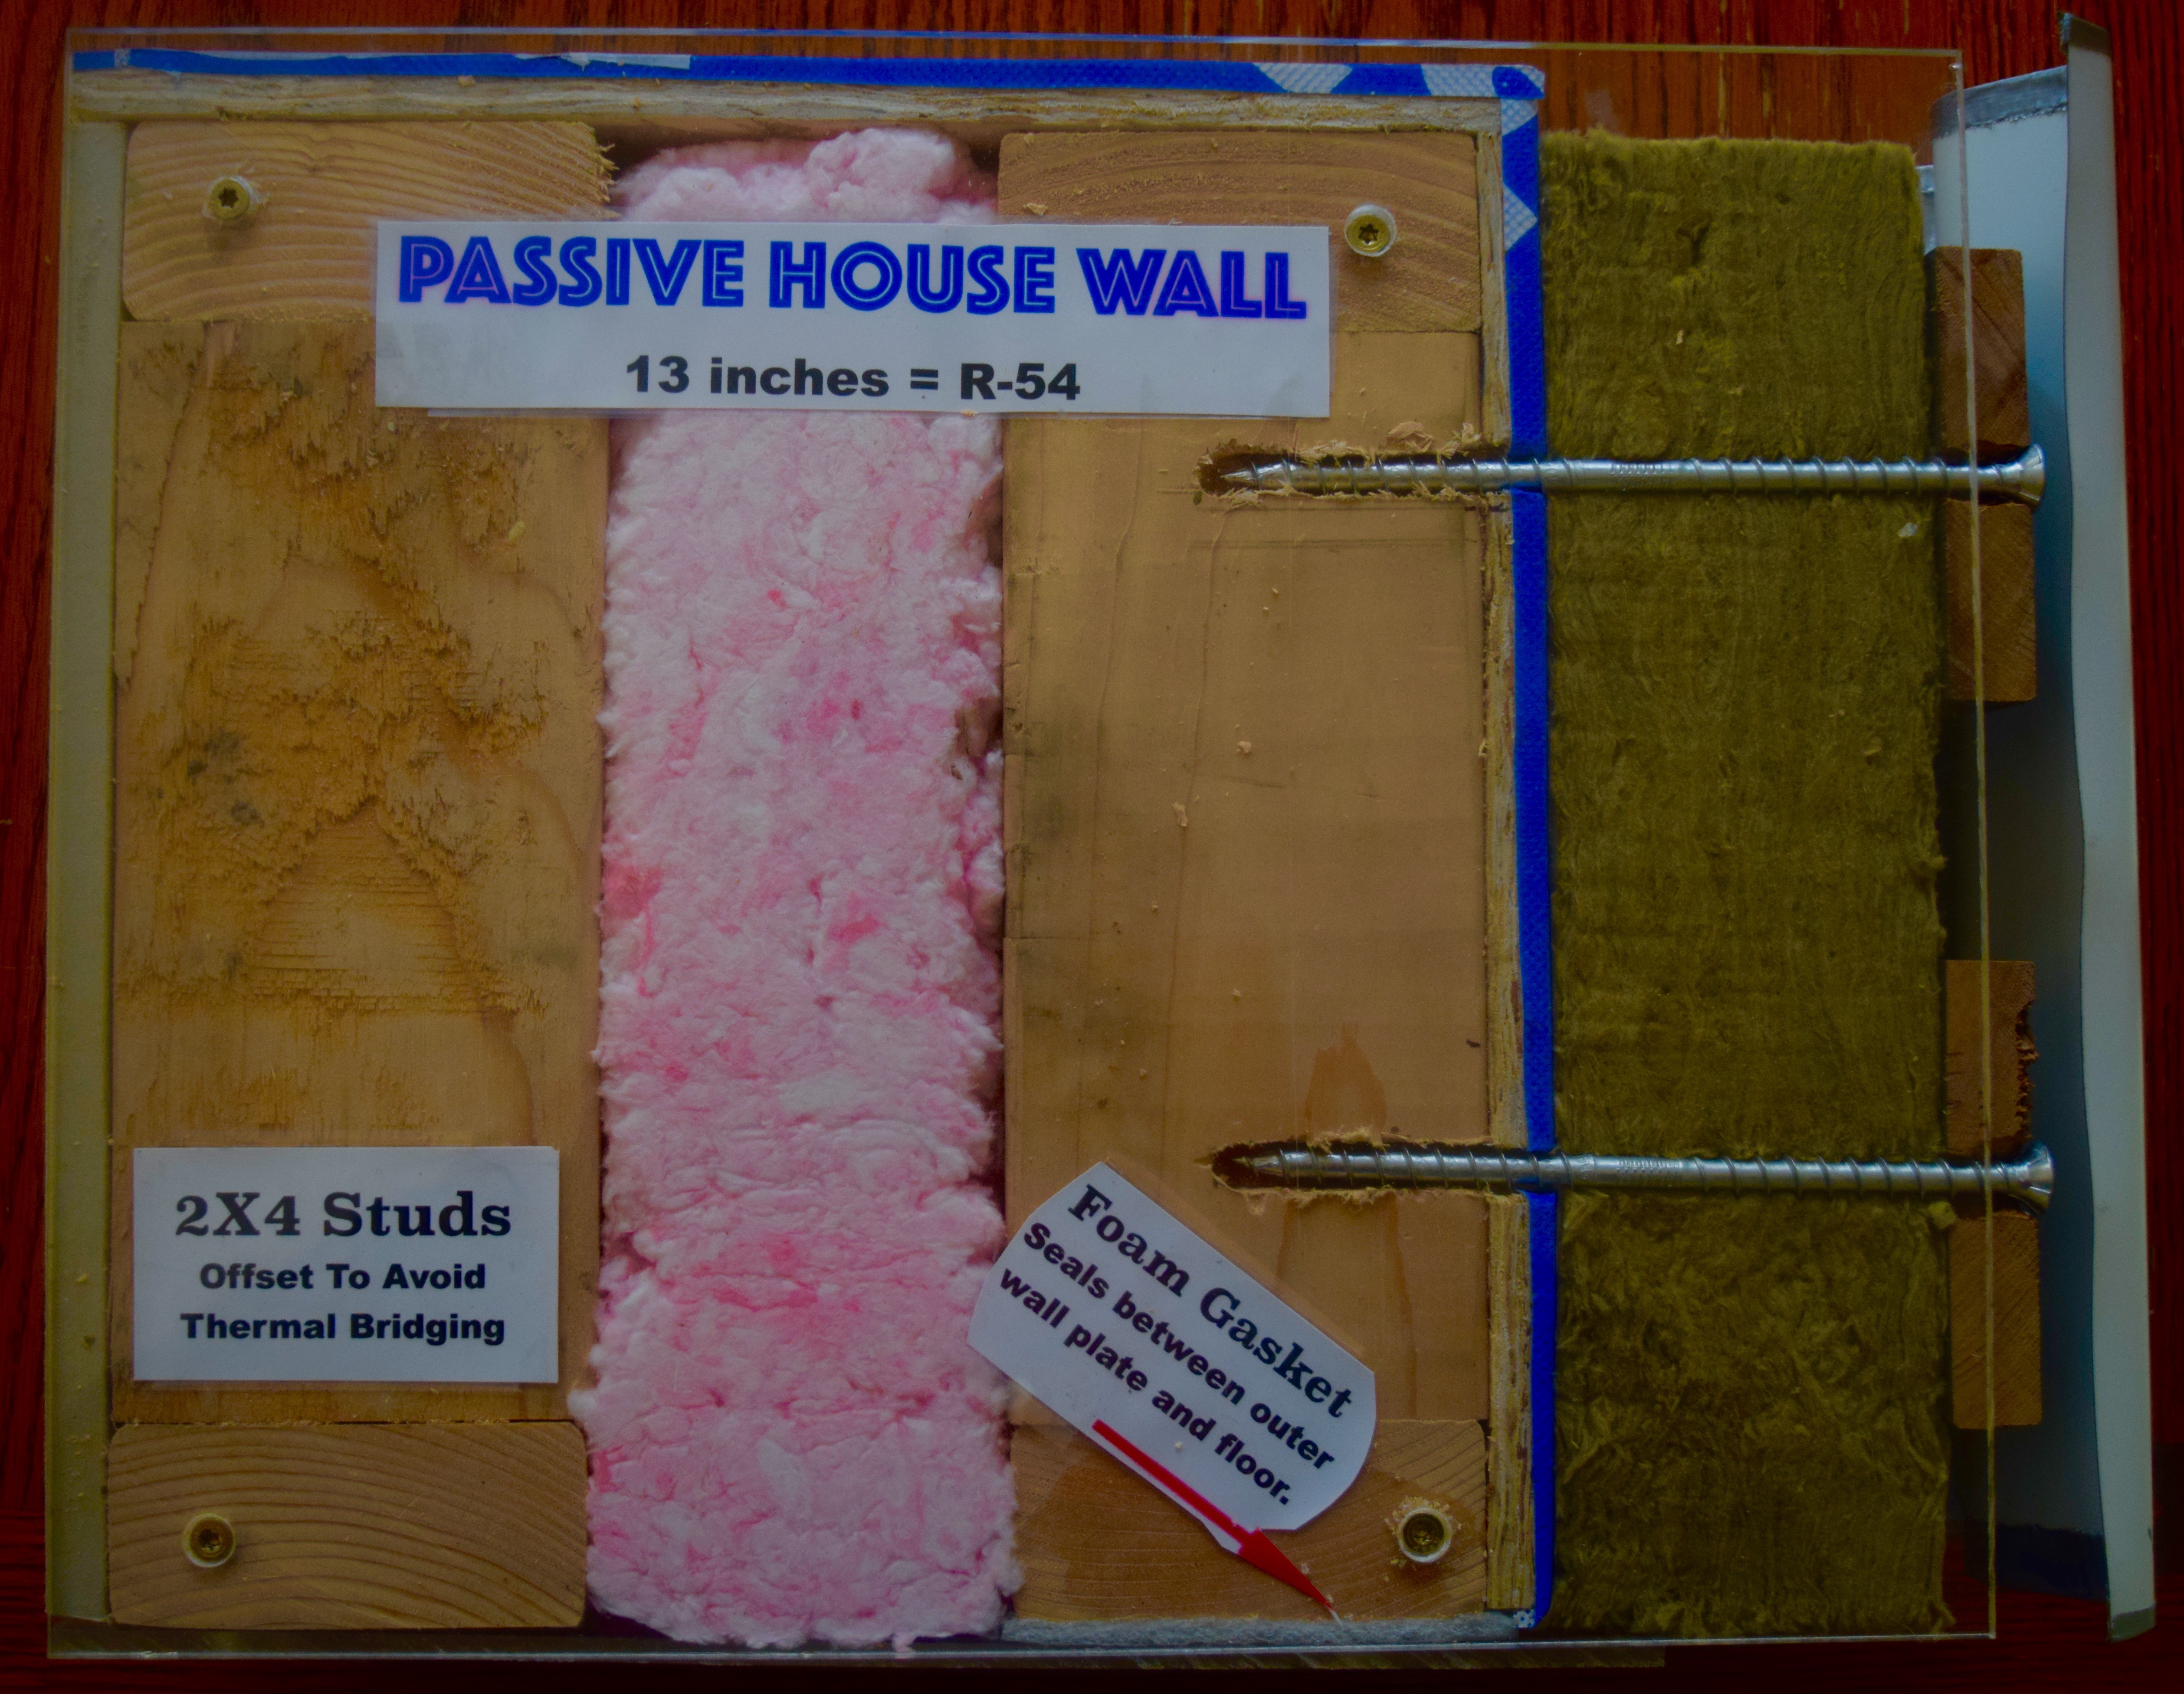
This construction adds up to a wall insulated to R-54, the envelope sealed by Henry’s Blueskin, then the breathable and water repellant Roxul and a ventilation space beneath the siding so air can move and take any accumulating moisture away from the Roxul and siding. Next we look at the backside of the model. This view shows the 2×4 studs, which, in reality are staggered or offset to minimize thermal bridging. You can see again the Blueskin VP100 sealing the ceiling and outer wall, but the view shows the structure that allows us to install the 3 inches of Roxul outside the outer wall, providing a way for us also to support the corrugated metal siding. The humongous screws are structural components, holding the 1×4 firing strips in place while penetrating the Roxul and fastening into the outer stud wall. The screws are about $2 apiece!!!
I will reflect more in a future blog about the deeper meanings of R-Value, but, for today, I want to finish again in gratitude. We are so grateful to be able to build among a neighborhood of humanity who seem to know how to show up. Many of them seem quite happy. And that contributes majorly to our contentedness. It’s always amazing to see who will show up once the word begins to spread. We sort’ve expected the little men and their trucks and dozers. Penny and her dog, Jack, is partial to plumbing and crowed rooms, so his presence was predictable.
But then, there are always great surprises.









Recent Comments